Pillowcases  

Posted by: anna* in ,

No food today. Well, at least not here.

I spent the weekend with sewing inbetween checking for updates from Fukushima.
Pillowcases I made. And stamps for decorating them.


My material: kitchen towels, the kind of linoleum you use when you´re feeling artsy.


Cut towel. I used most of it for these 35cm pillowcases (made to fit the little babyblue pillows you get for little money at that one big swedish furniture store...)


Pinned together with pins.


Still only pinned. I always need to make sure everything really fits so I put the pillow in. Fits.


Sewn. It´s one single seam really because the towels are already seamed. The flap is already nicely seamed, inside and out. Less work=more fun.


My materials pt.2. The stamps (5 of them), fabric paint (black), a roller that came with my linolum kit, old newspapers to protect my pretty floor, old newspapers to put inside the pillowcases because the paint bleeds through, rubber gloves.


My stamps. The yellow one is cut from foam rubber. I wanted to try both. My favorite is the dancing monkey.


Here we go. I kinda like them. Now, what can I do with ten pillowcases?


The fruits.


Well, that was easy once again. I hope you don´t mind that this isn´t really a tutorial... I´m betting there are people out there that can explain how to sew a pillowcase much better than me.
Next will be more food, I promise.

Chocolate Macarons  

Posted by: anna* in , ,

Still more than concerned about Japan. And getting a fundraiser together at Uni (where I study Japanese, mind you) is much more difficult than it should be...

Anyways, distraction.
I had some nice, very inspring talks with my friend Conny from over at Little Design Café lately and among all the craft-talk I mentioned how Macarons weren`t difficult to make and so I said I´d post about it here.

So here´s Chocolate Macarons. Careful: Pretty Chocolaty!

Ingrediences:
120g Powdered Almonds
2 Eggwhites
A pinch of salt
150g Powdered Sugar
2 TS Dutch processed Coacoa

For the Filling:
120g Dark Chocolate
200ml Whipped Cream

Now, doesn´t that list already look like it´s not that hard?
First make sure the almonds are ground to a very fine flour. Sift the almond flour into a bowl.
In another bowl beat the eggwhites with the salt until almost stiff. Add the powdered sugar gradually and keep beating until the egg is really stiff.
With a wire whisk carefully mix in the almonds.
Add the coacoa.
Batter ready. Don´t despair if the egg looses half it´s carefully made stiffness when you add the almonds. It just happens. I was all "Oh nooooo, what now" when this happened to me but it´s natural. Chemistry I guess.
Now preheat the oven at 80°C/32°F.
Fill the batter into an icing bag. Pipe it onto a slighty buttered baking sheet (I used baking paper because I´m lazy...). It has to be even drops, not too high, try not to make points, about as wide as... well, actually as you want them. Just not too big, keep them bite size. Make sure they all are about the same size because they´ll need to fit together.


Bake them for 15-20 minutes. They need to be dry on the upside so: touch them!
Once they are dry turn up the heat to 180°C/176°F and bake them for another 6-10 minutes.
Done. Let them cool. They need to be completely cool when you fill them so... Go read a book or something!
Then you prepare the filling.
Chop the chocolate into small pieces.
Boil up the cream and dissolve the chocolate in it.
Let it cool. (I know, boring, right?)


Cooled it should be a muddy paste, not exactly good looking but very chocolaty.
Whip it (with a handmixer or something) until it stiffens. This can take a little longer that whipping up just the cream.


Now pipe a bit of the filling onto the bottom of one half of the meringue thingies we baked. Put other half on top and gently push together until the filling almost comes out at the sides.


You might need one or two tries to really get how much filling is enough but hey, you can just sample the ones that you feel are not pretty enough to give to others.... And look at how beautiful they look once you got the hang of it. So professional. With so little effort.


They keep for 2-3 days in the fridge once they´re filled but you can also put them in the freezer and produce them whenever you have guests over. Hehehehe...


Yay! Macarons are easy. Don´t be intimidated.
Oh, and I added coconut to mine. Not the best idea so I left it out in the list. Kinda... too... I don´t know.

Fondant  

Posted by: anna* in , ,

I´m all worried about the earthquake in Japan... So I decided to post here to get my mind off things.


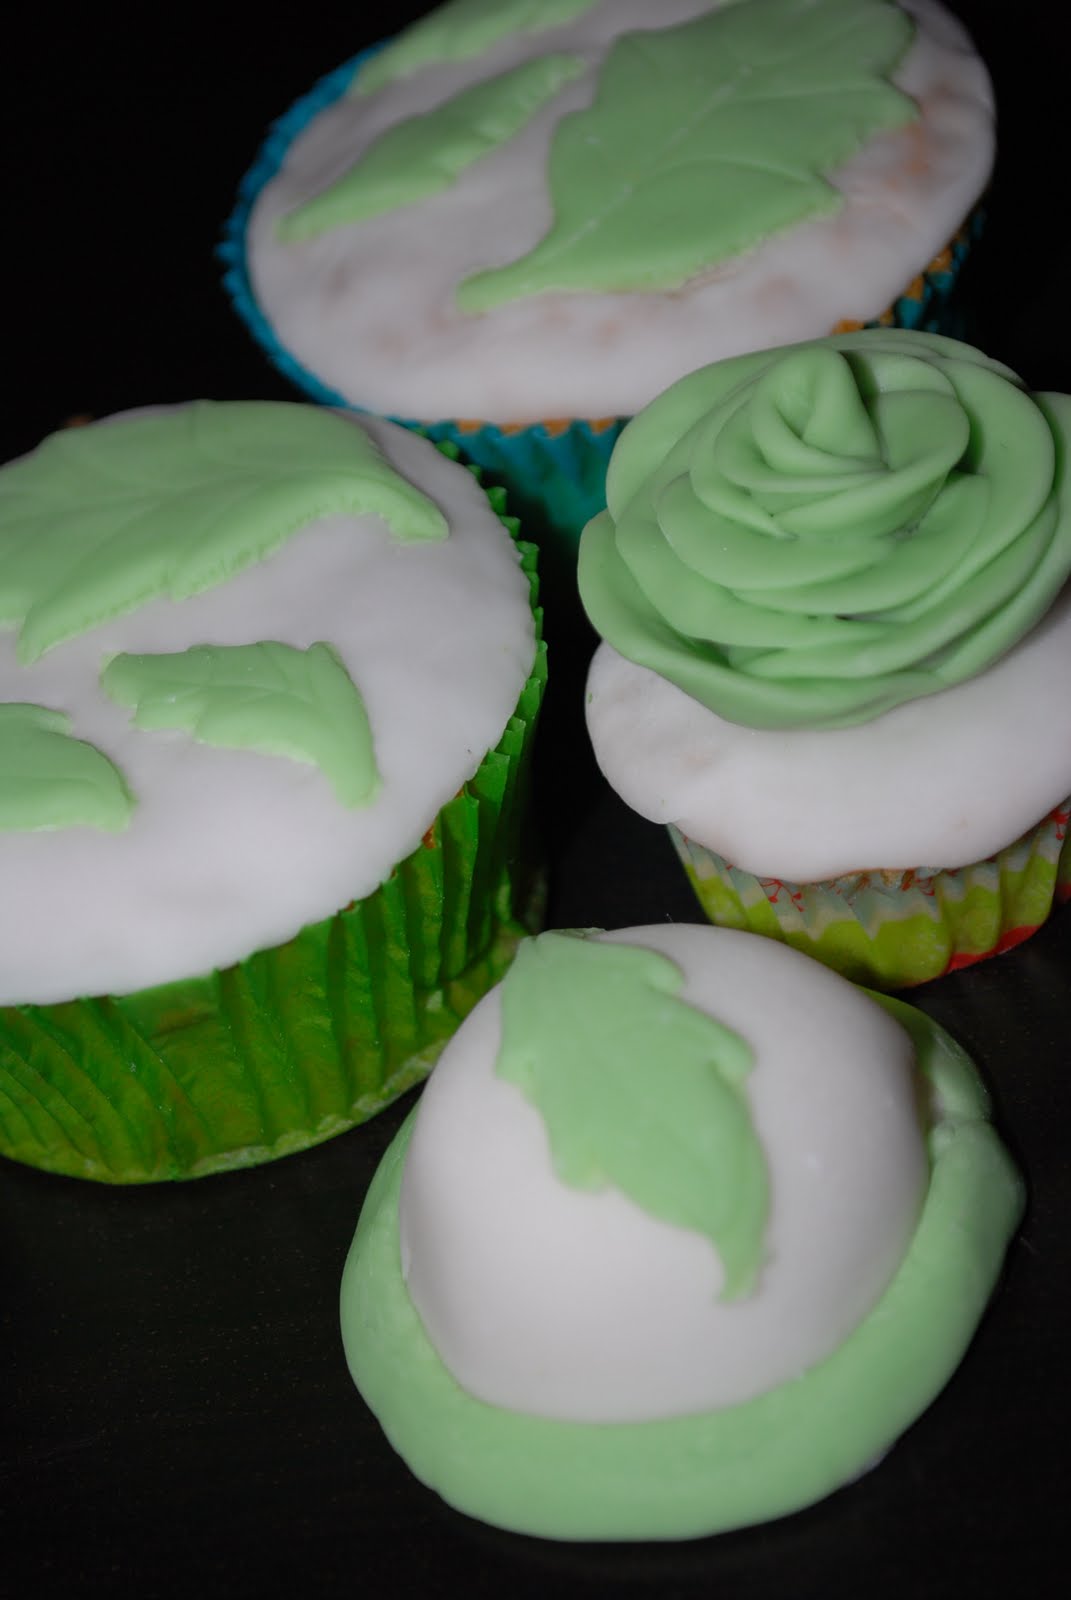
I´ve always wanted to try messing with fondant. My lovely sister gave me Fondant for Christmas and so...
Maaaan, it´s kinda... exhausting. I think it´s better if you know what you´re doing, have a plan or a theme and just do what you wanted. But. I didn´t have a plan, I didn´t have a theme and so both my attempts at trying to make cupcakes pretty ended with only a few cupcakes.

Here are some pictures:


This first batch I made all by myself.
I also got a leave-mold. Nice.


My first try at making a rose. Kinda big...


Mini Cupcake turned upside down then covered. Not looking too good. But I like the idea.


All (four) of them. It took me about 1 1/2 hours to make those. I need more practise.


The second batch I made with my friend Conny. I figured it`d be more fun doing it together. And it was. But still we didn´t manage to make lots. Yes, we did spend probably too much time chatting like old women but still...


Fondant flowers. Cut out with Japanese cutters.


A ribbon. It looks so easy. I can tell you, it´s not.


White on white. Very elegant if you ask me.


Another rose. Smaller this time and with a leaf.


Conny`s beautiful daughter Supercute-Sophia being proud of her cupcake. She loved the Leaf-mold.


That is all we made. Two big ones, two little ones each.


Next time we´ll make more. We´ll make a plan beforehand and don´t try to think of cute things while we´re at it. We absolutely won´t forget the stars! We will use unpowdered gloves for kneading and modelling the fondant. We will have more little cookie cutters. We will make better cupcakes (the little ones were terribly dry). We... Well, we´ll just make it better. Right? Right!

Chirashi Sushi & Teriyaki Salmon  

Posted by: anna* in , , , , , ,

Yes, I´m still alive. School has been eating me and life is everything but kind in general. Actually I should be sitting somewhere reading and writing stuff for my paper about Taisho Culture, due next week, right now. But I don´t want tooooo....
So I´m telling you about my cooking adventure from last weekend.
I went to my lovely friend Mako and her lovely husband´s place and we cooked tons of extremely yummy japanese food.
Here´s what we made:

Chirashi Sushi. Basically seasoned rice with whatever you want mixed in it. It´s as easy as it is delicious. You cook the rice, then dress is with vineagar and sugar or with readymade Sushi-Seasoning (available at any asian supermarket). We fried two pieces of fresh salmon and then chopped it into smallest pieces, added green onions and peapods.
For the topping we took one egg, scrambled it up, added a tiny bit of salt and sugar and made a very thin omlette. Which, after it colled off, was rolled up and cut into very thin strips. Also on top of tis delicious dish went nori strips. Mako had those readymade at home but since they´re not available over here (why, oh why?)i usually cut my nori at home myself.
And that´s pretty much it. We had way too much and I would have loved to eat the whole bowl.

Next was Teriyaki Salmon. Very easy as well. We took a piece of fresh salmon (with skin) for each of us and fried it. No fat, mind you. Salmon is greasy enough by itself, really. We did use Japanese non-sticky-tinfoil in the pan, though. Something I really need!
After frying the fish until it was crispy from all sides, we poured some Soysauce into the pan, added sugar until it was sweet enough for our tastes (maybe one Tablespoon?), then some water. We should have added some sake as well but I don´t think we did. Did we add Mirin? Not sure, sorry.
Then we put the Salmon into the sauce and let it simmer until the sauce got thick and syrupy. Don´t forget to turn the fish around so that every side gets its share.
What else?
We cooked string beans. And then grinded some roasted sesame in one of those fantastic bowls that I keep forgetting the name of. Suribachi. That´s the name. I love them. I need one!
When the sesame was just a paste I added some misopaste until it was a very light, not too thick sauce. Together with the beans it makes a great salad.


Mako had some selfmade Tofu prepared and we put some green onions and some katsuobushi (bonito flakes) on top. This eaten together with a little bit of soy sauce is gorgeous.


We also had some tiny fishes that noone of us knew before, called smelt. Doesn´t sound too yummy, right? But they are. They´re only about the size of a small hand and very good. We shortly thought about what to do with them and then decided we´d salt some, rub the others with misopaste and just put them in the oven.
Two of them even had eggs inside. Mmmmh. We just put that in the oven as well. It kinda burned but even crispy it was good. A little soysauce and it´s perfect with a sip of Sake.

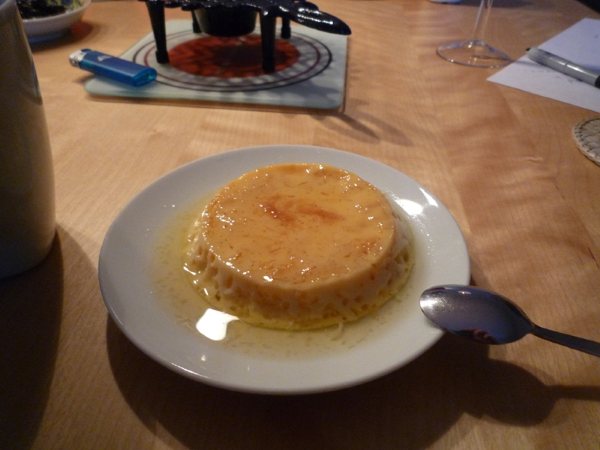
For dessert I made some purin, japanese custard pudding with caramel sauce. My sensei´s recipe. It´s very easy. I´ll post it here, soon. Unfortunately I tried out new molds to make them and since they were made of some kind of metal I guess I´d better reduce the temperature next time when I steam them. This time I got unwanted bubbles on the edges. But it was still good.


Everything took us about two hours to make and it was so worth it. Everything was very yummy. Very! And since all of it can be eaten cold or lukewarm there´s no need to hurry. I´ll sure cook all of that again, just because it´s tasty and easy and I´m thinking that even for western tastes the Miso-fishies are still good.


眞子、竜さん。超楽しかった! We´ll cook again sometime soon, right?
Now back to reading. And then some writing?
Anyways. I hope I´ll be back soon.

Crispy Duck Breast  

Posted by: anna* in , , , ,

Instead of studying like I should I´ll tell you what we had for dinner last night:

Crispy Duck Breast

We wanted to make this for christmas but then we changed our plans and had my mom cook instead but we still had everything for it here and in the end we ate it on a regular monday which made the day still seem special. Nice.

Ingrediences:
2 Duck breasts
Potatoes
Sugar
Chestnuts
Salt & Pepper
Butter
Flour
Cream (or a subsitute)
Water

First things first: Cut crosses in the chestnutpeel and put them in the oven at a very high temperature. I used 250°C and let them in for about half an hour (the oven was not preheated). Keep an eye on them, you don´t want them all hardened and burnt. Let them cool, then peel them. Set aside for later. ( I actually made them in the afternoon because peeling hot roasted chestnuts is only fun when you´re outside in the snow and your hands are frozen anyways...)
Cook the potatoes in water, don´t salt them. Once they´re halfway done you can start with the duck.
I used frozen duck breasts because they are cheaper so I guess if you don´t have the time to breed and raise, then shoot and prepare your own duck, any kind of store bought is fine.
I rinsed the blood off, dried them, them cleaned the skin from any remains of the feathers.
Then cut little diamonds into the fatty skin. Be careful not to cut into the meat.
(Why diamonds? Why not into the meat? Diamonds because they´re pretty... No really, the fat will melt and tighten when heated and unless you want the whole thing to curl up you better cut into it so that only the little diamonds will get smaller. And the meat will bleed out and loose precious meatjuice if cut.)
Preheat the oven to 180°C/ 350°F.
Now heat up a pan but no oil, fat, grease whatsoever. Once it´s hot, place the chicken breasts with the skinside down into it and let it fry for 5 minutes. You´ll be amazed how much fat gets out! Well, I sure was.
Then turn around and fry (Deep fry, really. There´s so much fat!) the skinless side for 2 minutes.
Now place the duck breasts into little tinfoil boats. Well, just make sure you wrap them into tinfoil so that only the skin looks out, everything else must be wrapped. This makes the skin extra crispy.
Put them into the oven for 10 Minutes then turn off the heat and let them sit inside the oven for another 5 Minutes.
Meanwhile:
I used the leftover fat from the pan for a extra good gravy. I just threw some spoonfulls of flour on it, mixed that well, then added cream (a fat reduced subsitute, really...) and then some water. Stir, add salt and pepper, let sit.
Get rid of the potato water.
Cut chestnuts. I cut them into four pieces each but go with how small you like them.
Dissolve butter in the pot you boiled the potatoes in. Add Sugar. I used about 50g butter(?) and 5 TS Sugar but it depends on how sweet you like it, on how many potatoes you have and on how strict your diet is, I guess.
Let sugar and butter melt together, when it starts to get brownish take it off the heat and throw potatoes and chestnuts in. Make sure every potato gets some sugarbutter.
Take the ducks out of the oven and cut them into strips, bite size pieces, whatever you like.
There´s gonna be quite some meatjuice inside the little tinfoil boats and I just added that into the gravy.
Put on plate, serve to someone you like. Way too good to waste on people you don´t.
Looks long, is not. Took me about half an hour, maybe a little longer counting in the chestnuts.


Duckie breasts, all naked. Hehe...


Fat skin cut into diamonds.


Don´t they look great in the pan already? And see all that fat? I told you!


Wrapped in tinfoil.


Pretty chestnuts. My favorite winter-treat.


Caramel potatoes with chestnuts. Tastes as good as it sounds.


Super heavy gravy looking good in the pan.


The perfect color inside.


Anyone has any good recipes with chestnuts to share? I´d love to try...